SiteSkite now supports multi-environment site management within a single project, allowing you to manage both Production (Live) and Staging (Testing) environments seamlessly.
This feature is designed for teams and developers who want a safer, more controlled workflow before pushing changes live.
What is Production & Staging in SiteSkite?
Each linked site can now be structured as a Project, containing:
Production (PRD) → Your live, public website
Staging (STG) → A separate environment for testing changes
You can instantly switch between these environments inside SiteSkite without needing separate tools or logins.
How It Works
Project-Based View
When you select show Projects View:
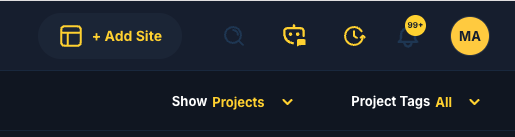
Each site appears as a project container
-
Inside each project, you’ll see:
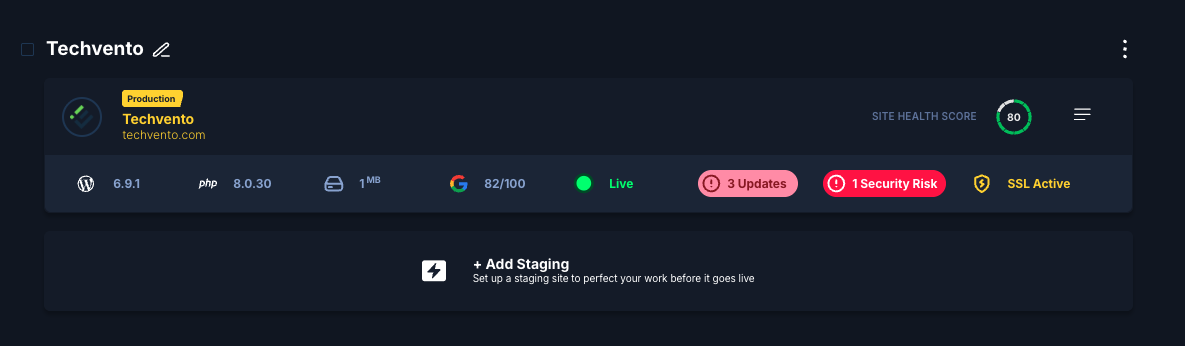
Production site
Option to add/manage staging
This keeps everything organized and avoids confusion between environments.
Environment Switching
Inside the Site Overview, you can:
Switch between Production and Staging with one click
-
View environment-specific data such as:
Plugin/theme updates
Performance metrics
Backup status
Security risks
It’s like flipping between two parallel versions of your site 🌗

Creating a Staging Environment
To add staging:
Go to your site/project
Click “+ Add Staging”
SiteSkite prepares a staging environment
Start testing safely
No manual setup, no server juggling.
Why Use Staging?
Think of staging as your safe playground before the spotlight
Use it to:
Test plugin or theme updates
Validate design or content changes
Debug issues without affecting users
Experiment with new features
Verify performance improvements
Key Benefits
Safe Deployments
Catch issues before they reach your live users.
Clear Separation
Production stays stable while staging evolves.
Faster Workflow
No need for manual cloning or external tools.
Centralized Control
Manage both environments from one dashboard.
Better Collaboration
Teams can test and review before going live.
Real-World Workflow
A typical workflow with SiteSkite:
Create or update content in Staging
Test functionality and performance
Fix any issues
Validate everything
Push changes confidently to Production
No surprises. No broken live sites.
Best Practices
Always test updates in Staging first
Avoid making direct changes on Production
Keep staging environment updated with latest data
Use backups before major changes
Validate performance and security before pushing live
When to Use This Feature
This feature is ideal if you:
Manage multiple client websites
Run frequent updates or deployments
Work in a team environment
Want to reduce downtime and risks
Need a professional WebOps workflow
Summary
The Production & Staging Environments in SiteSkite transform how you manage WordPress sites.
Instead of risky live edits, you now have a structured workflow:
Build → Test → Validate → Go Live
All from a single dashboard, with zero friction