SiteSkite offers a one-click template installation feature that lets you instantly import ready-made WordPress website templates, complete with demo content. This makes it easy to launch a new site design without manually setting up plugins, themes, or demo data.
⚠️ Important Note: Installing a template will overwrite your existing website content. Please ensure you take a full backup of your site before proceeding.

1. Prerequisites
Before you can install templates, make sure you:
Have the SiteSkite Link Plugin installed on your WordPress site.
Activated the API Key to link your site with the SiteSkite portal.
(Recommended) Took a backup of your website using SiteSkite or your preferred backup method.
2. Navigate to the Marketplace
Log in to your SiteSkite Portal.
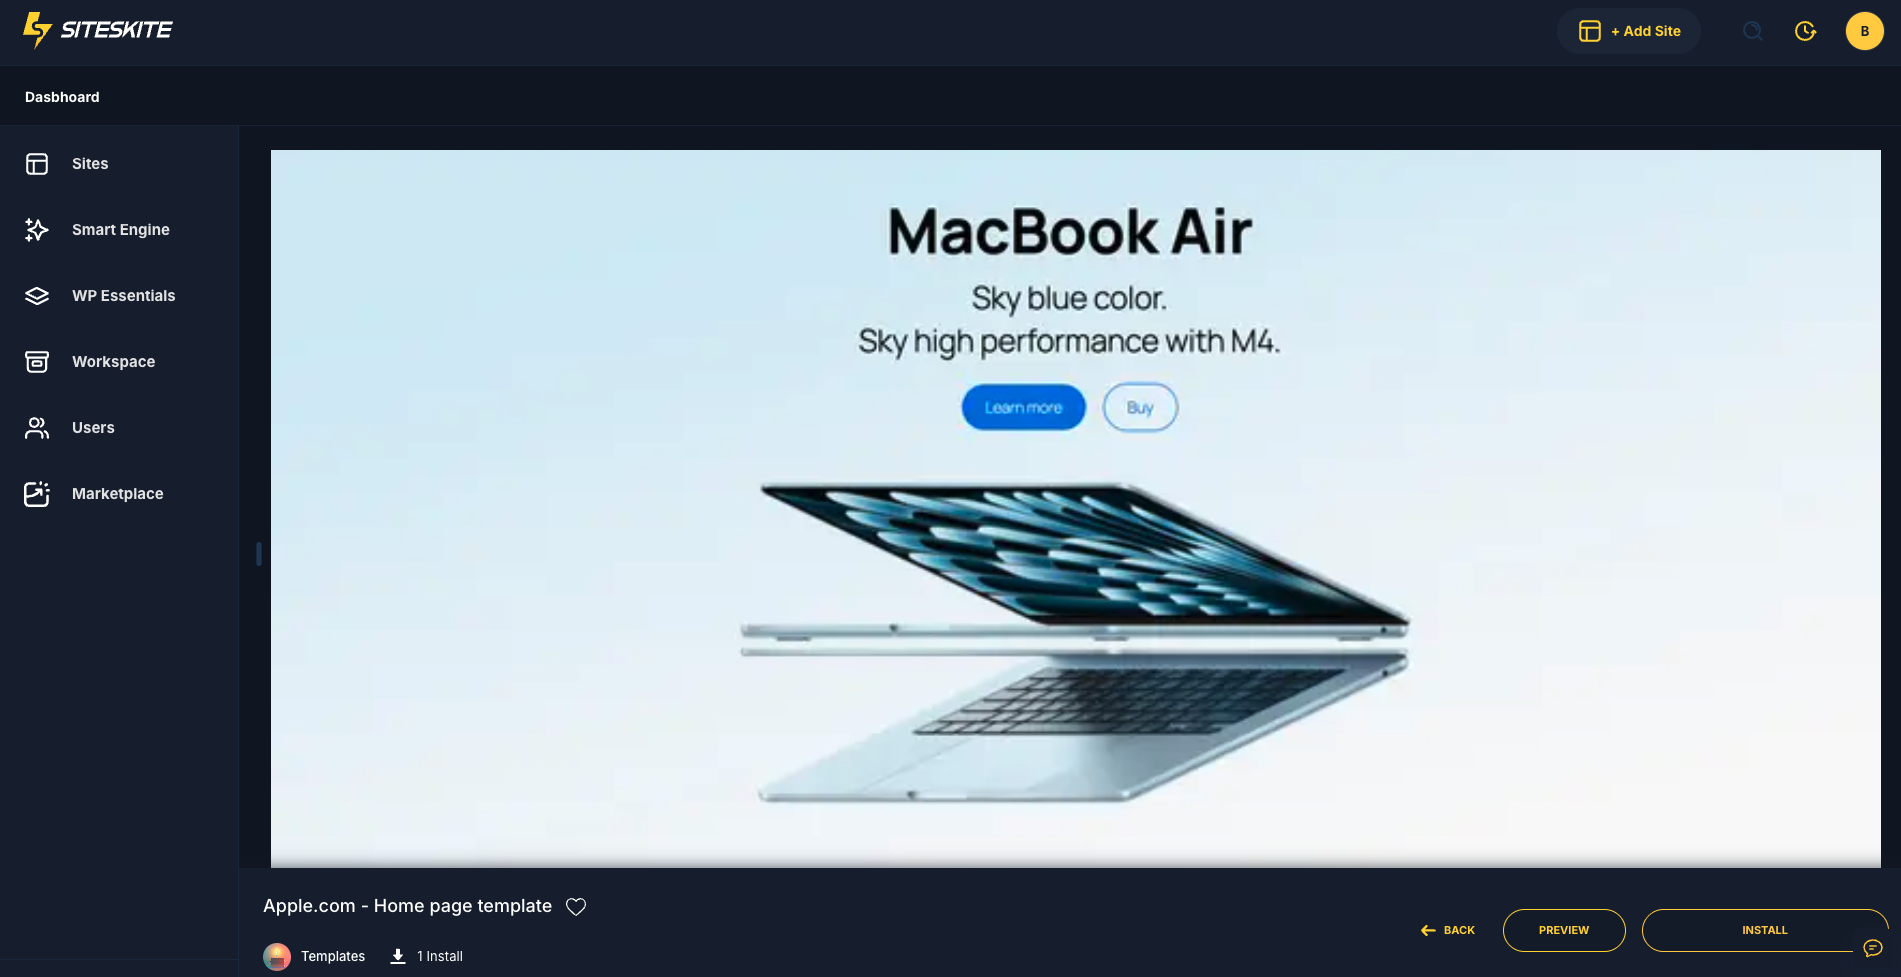
From the left menu, go to Marketplace.
Browse available templates. You can explore categories, industries, and designs.
3. Preview Template Details
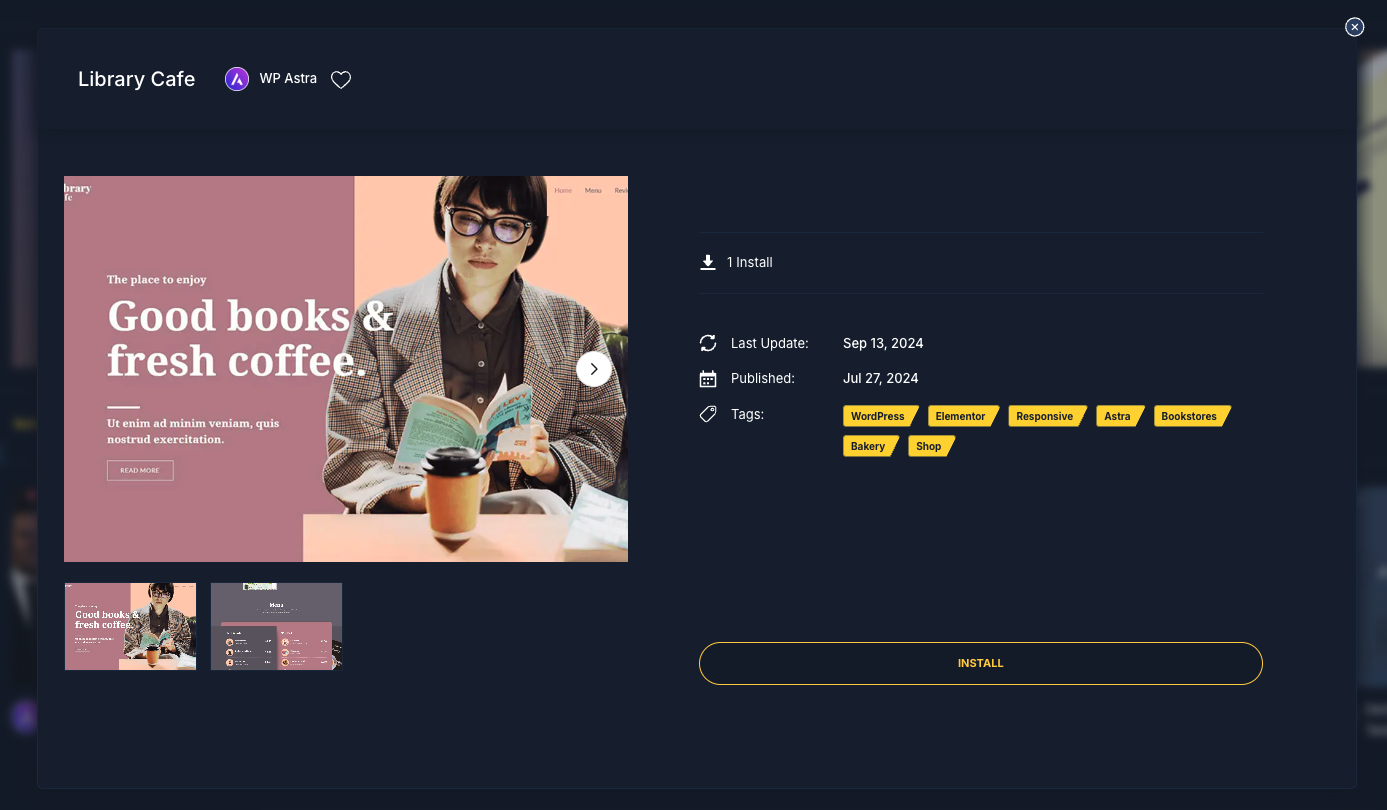
Hover over any template thumbnail and click View Details.
You’ll see a preview of the template, included features, and demo content.
4. Install the Template
-
On the template detail page, click the Install Template button.
-
A pop-up will appear asking you to select which of your linked websites you want to install this template on.
-
Choose your site from the dropdown.
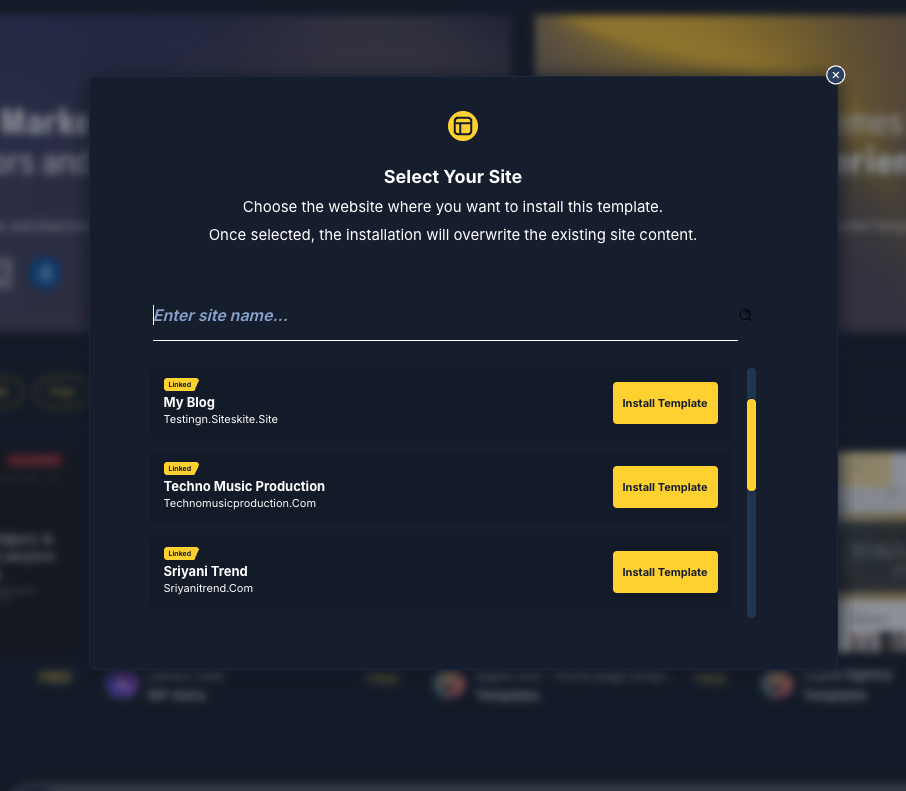
Click Install Template.
5. Done 🎉
That’s it! SiteSkite will now:
Import the selected marketplace template into your WordPress site.
Replace your existing content with the template’s demo data.
Set up themes, plugins, and page designs as included in the template.
Backup First: Always create a backup before installing a template.
Fresh Start Recommended: Templates are best installed on new or empty websites to avoid conflicts.
Customization: Once installed, you can edit the design, content, and plugins to suit your brand.
With SiteSkite’s Marketplace Templates, you can launch a professional WordPress site in minutes — no technical setup required.