Connecting your WordPress website to SiteSkite is quick and simple. Once linked, you’ll be able to monitor, manage, and automate tasks directly from your SiteSkite dashboard.
Step 1: Get Your SiteSkite API Key
-
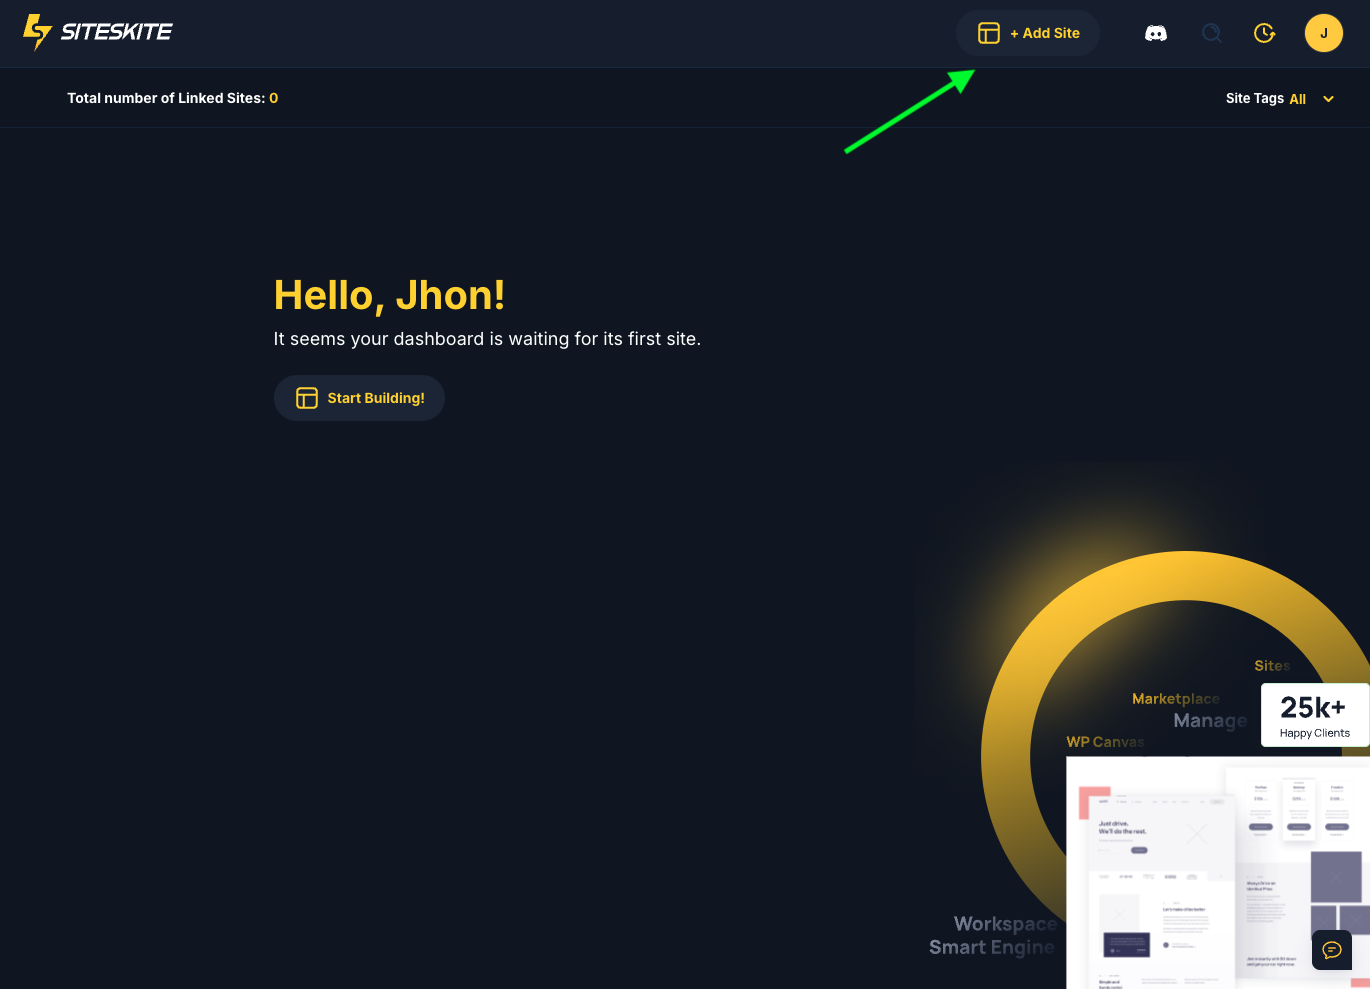
Log in to your SiteSkite Portal and on Start Building Button.
.png)
-
Add Site URL and click on the Next button

-
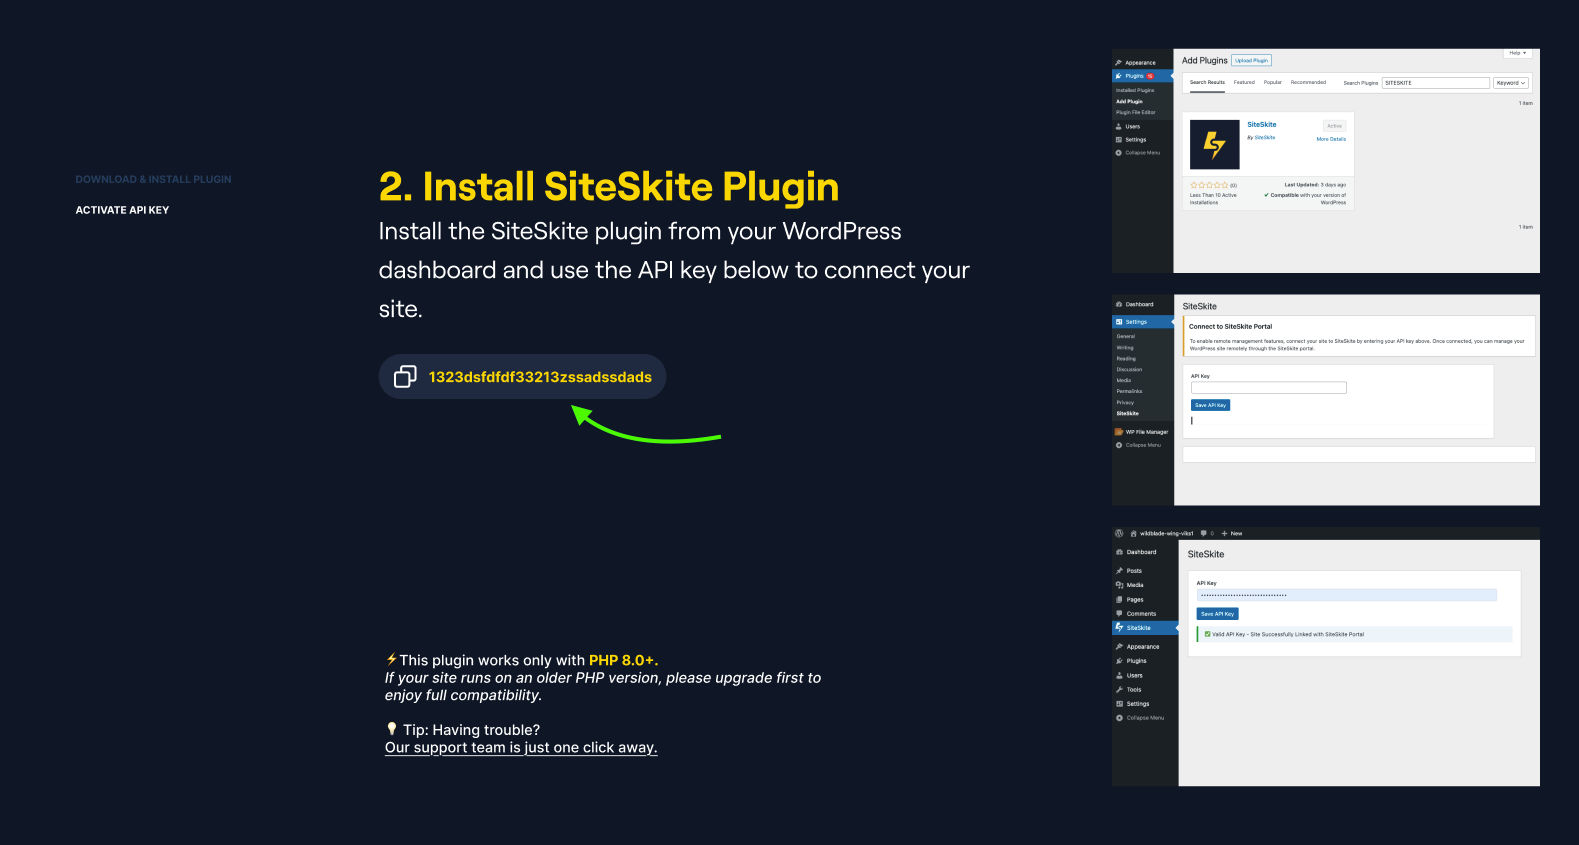
Copy the unique API Key provided.
Step 2: Link Your Site with SiteSkite Portal
Log in to your WordPress admin dashboard.
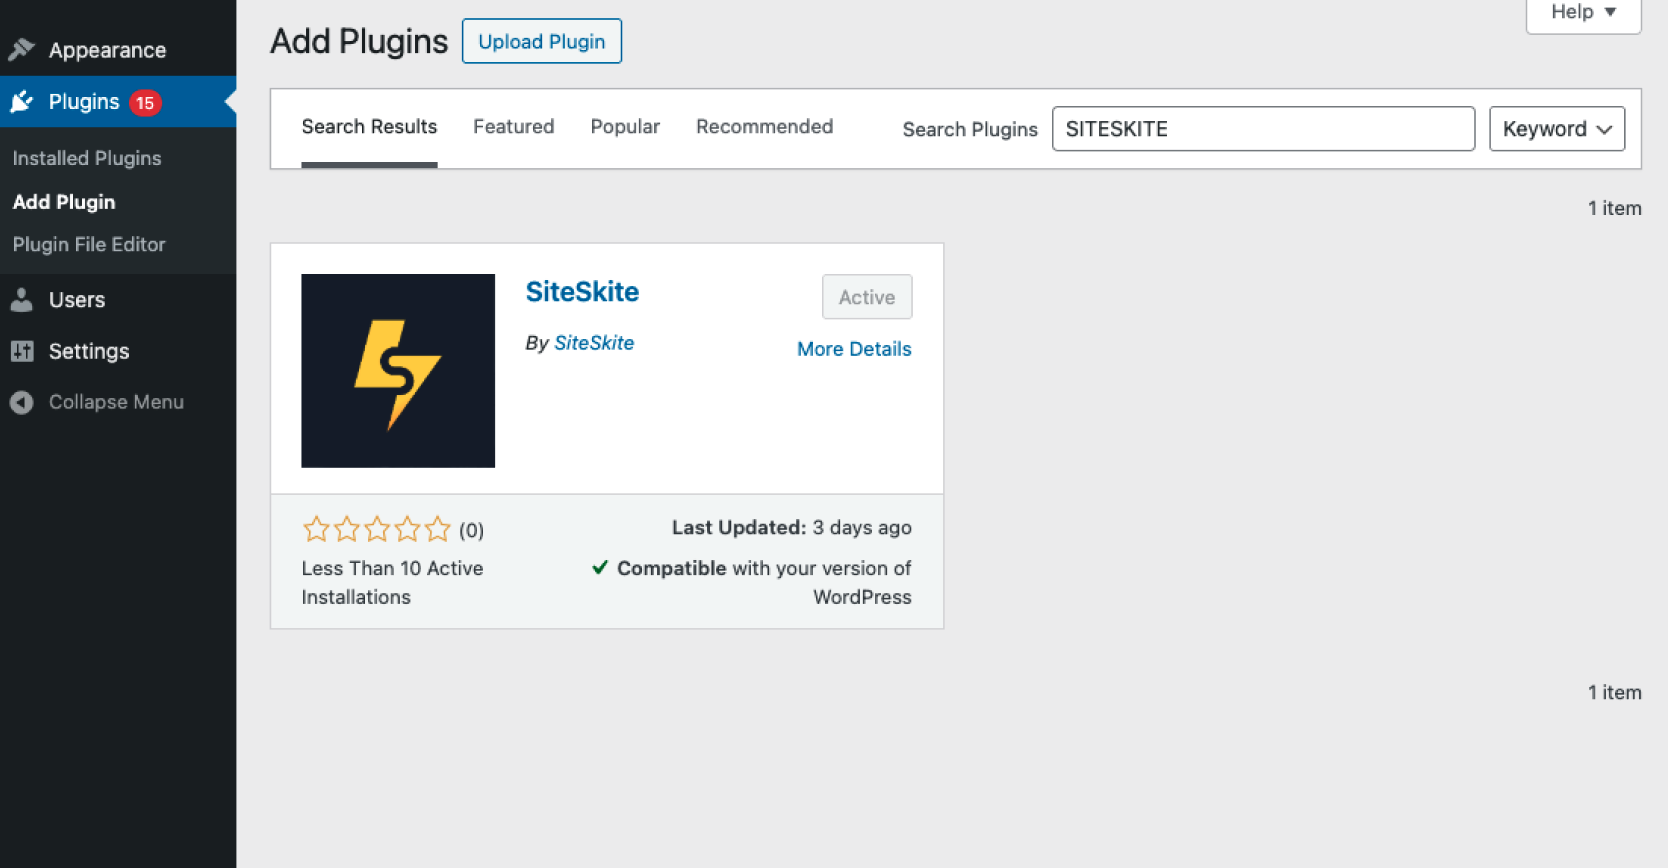
Go to Plugins > Add New.
Search SiteSkite
-
Click Install Now and then Activate.
Step 2.1: Paste the API Key Inside WordPress
After activating the plugin, go to
WordPress Admin → Settings → SiteSkite.Paste the API Key.
-
Click Save API Key.

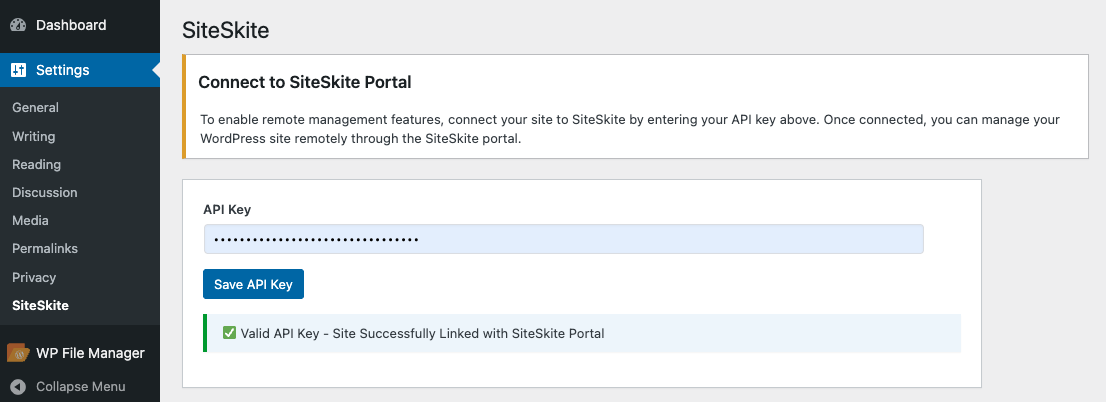
Step 3: Verify the Connection
After saving, your site will automatically connect to your SiteSkite account.
-
You should now see your website listed in the SiteSkite Portal.
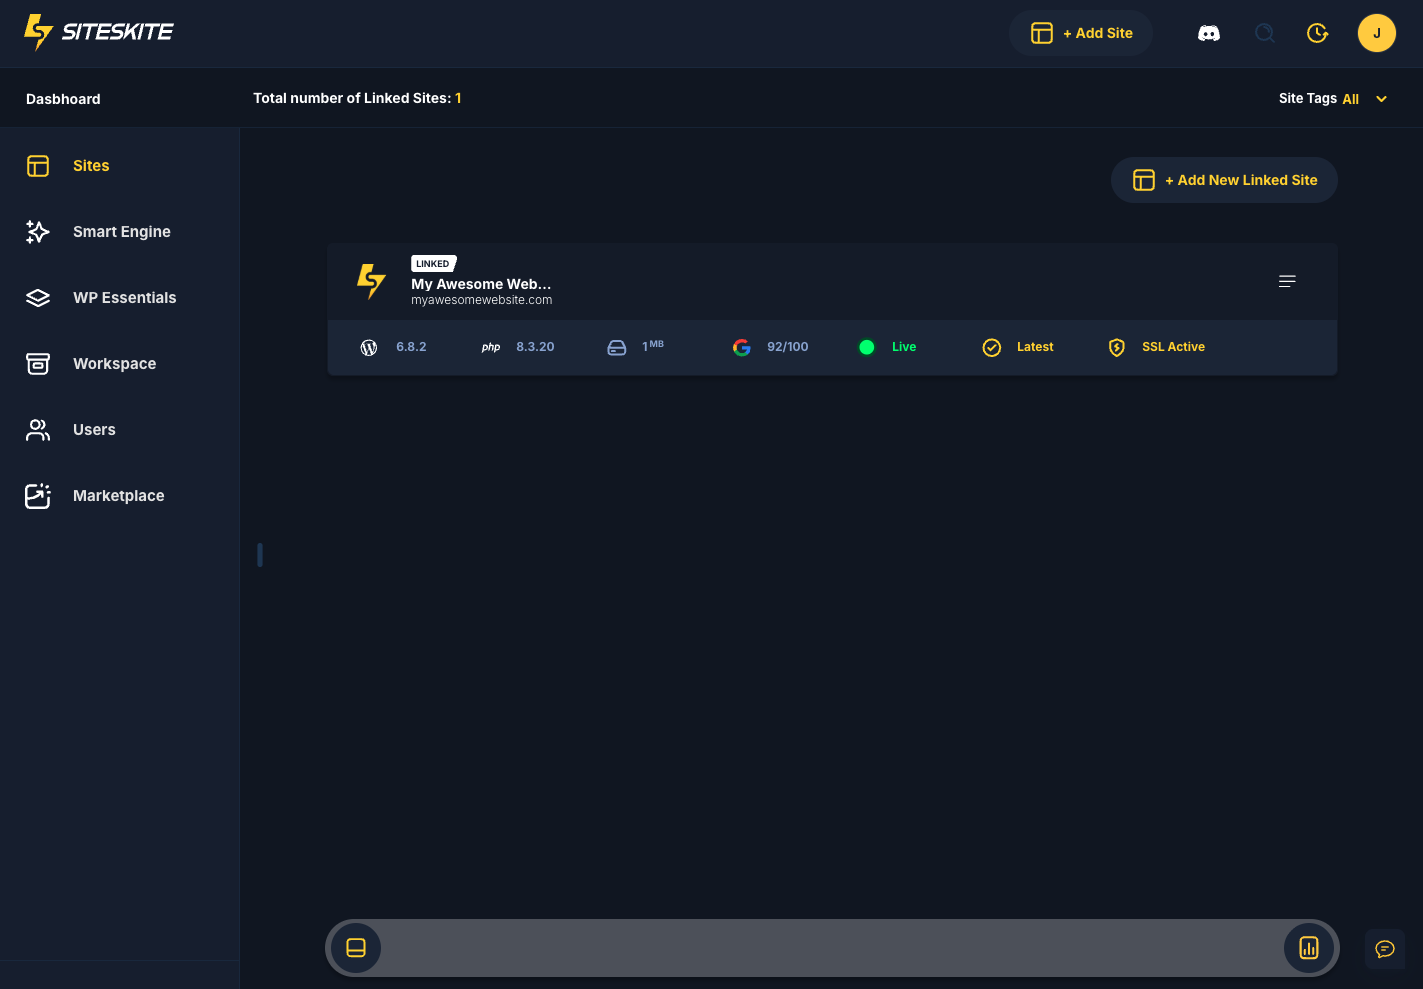
That’s it! Your website is now linked with SiteSkite and ready to be managed.
Troubleshooting
Invalid API Key: Double-check the key you copied from the portal.
Plugin Not Found: Make sure you are running WordPress 5.5+ and PHP 8.0+.
Connection Failed: Ensure your hosting server allows outbound connections (HTTPS).
-
If automatically site not appear then just click on ReSync option on the right side of the dashboard header.
