WP Essentials also allows you to create your own plugin presets for faster workflow:
Steps to Create a Custom Preset:
Go to WP ESSENTIAL → Create Preset.
Select the plugins you want to include.
Save the preset with a custom name.
-
Apply it to one or multiple sites in your portal with a single click.
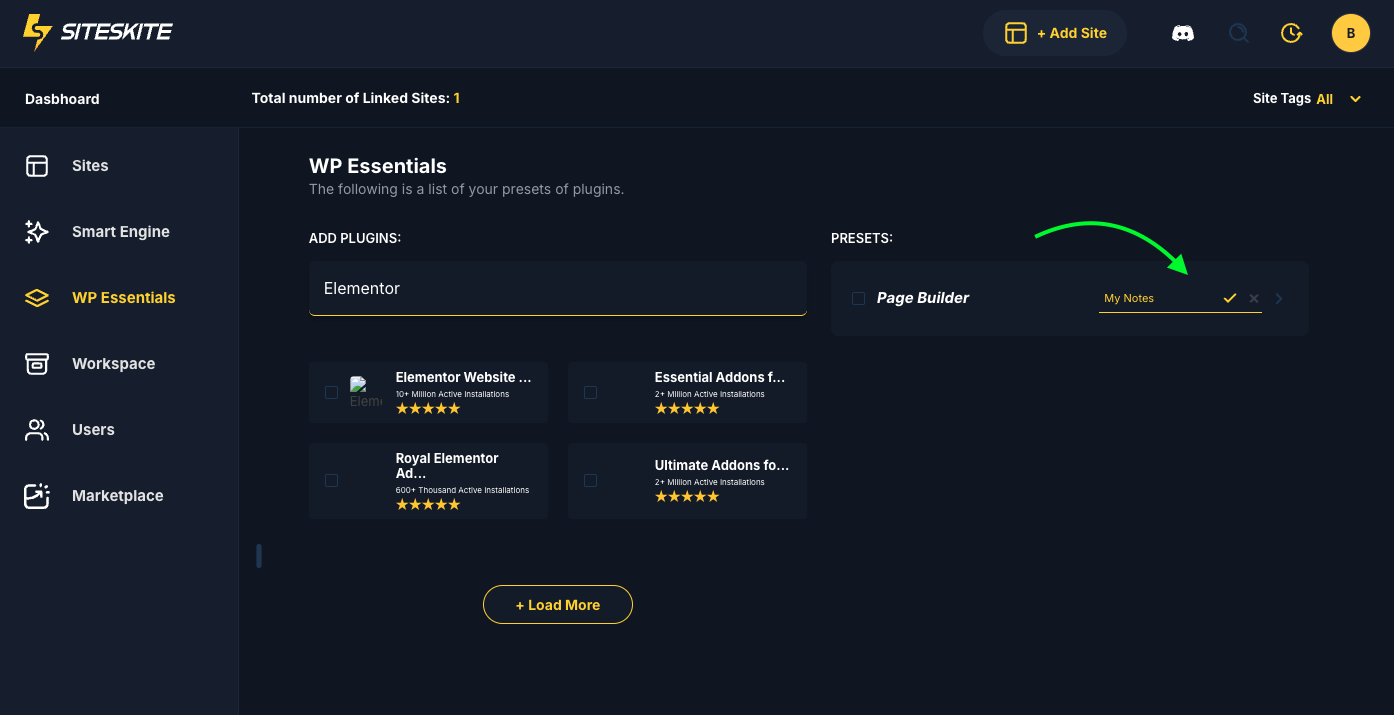
💡 Notes:
Custom presets are ideal for recurring workflows, like setting up client sites or staging environments.
Presets can be updated over time — adding or removing plugins without affecting previously applied sites.
Use Tags and Notes in SiteSkite to track which preset was applied to each site for better documentation.
Best Practices
Start with default presets if you are new to SiteSkite WP ESSENTIAL.
Test custom presets on a staging site before applying to production.
Use Notes and Tags to track preset usage across multiple sites.
Always check plugin compatibility, especially when combining multiple plugins in a preset.
In summary:
WP ESSENTIAL simplifies WordPress site setup by providing pre-set plugins, bulk installation, and customizable workflows — saving you time and effort while maintaining consistency across all your sites.