SiteSkite allows you to white label its plugin so you can present it under your own brand. This is especially useful for agencies, freelancers, or companies that manage multiple client websites and want to keep their own branding front and center.
Step 1: Enable White Labeling in Your SiteSkite Portal
Log in to your SiteSkite Portal.
-
Go to Settings.

-
Under Settings panel choose White Label option.
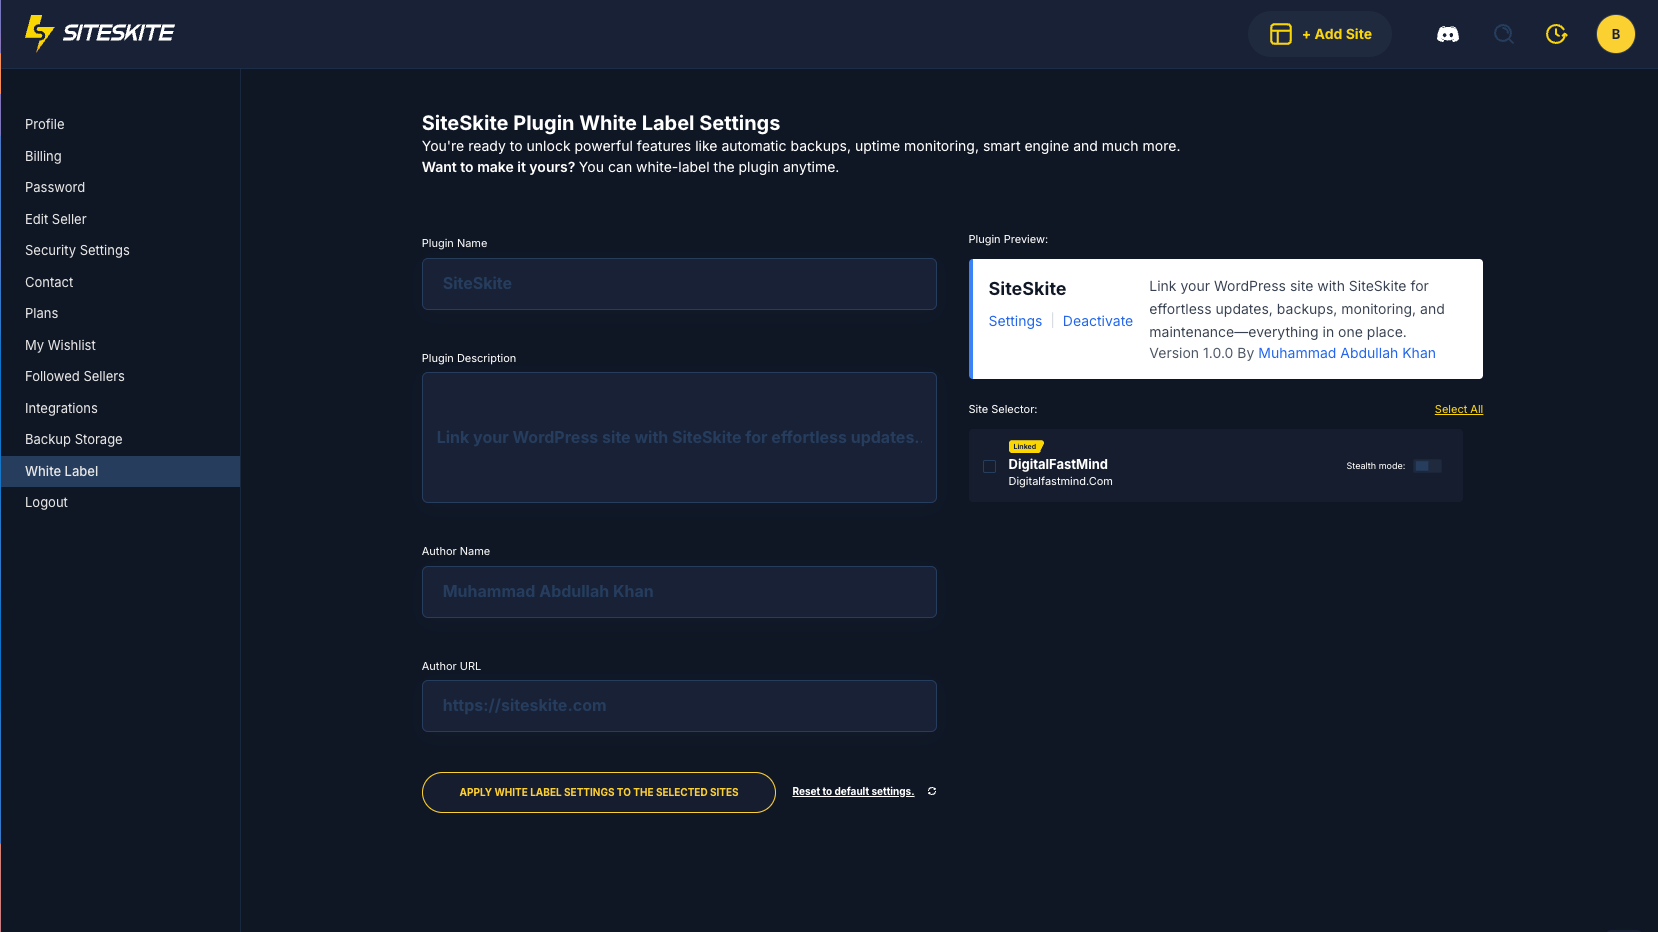
Step 2: Customize the Plugin Branding
You’ll be able to change:
Plugin Name (e.g., “MyAgency Manager”)
Plugin Description (your custom service description)
Author Name (your agency or business name)
Author URL (link to your website)
Step 3: Choose Site(s)
-
After customizing, Choose Sites from Site Selector which you would like to apply White-labeled Settings.
Click Apply White Label Settings to the Selected Sites Button.
The SiteSkite plugin on your clients’ WordPress sites will now display your white-labeled branding.
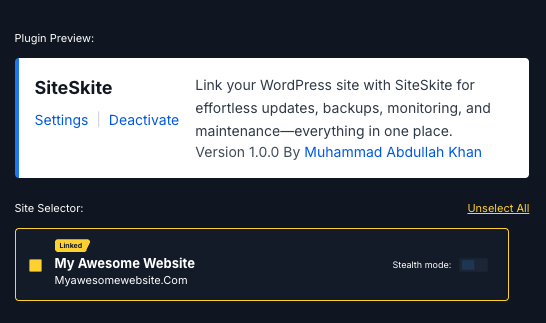
Step 3.1: Stealth Mode (Optional)
If you want your clients to have no visibility at all of the plugin in their WordPress dashboard, you can enable Stealth Mode:
When enabled, the plugin will run fully in the background.
It will not appear in the Plugins list or under WordPress settings.
Your clients won’t even know a management plugin is installed, but all SiteSkite features will continue to work.
⚠️ Use this carefully—once Stealth Mode is active, you can only manage the plugin through your SiteSkite portal.
Notes & Best Practices
White labeling does not affect core functionality—only the branding shown in WordPress.
You can update the branding anytime from your SiteSkite portal.
Clients won’t see the name “SiteSkite” anywhere inside their WordPress dashboard.
With white labeling, you can provide SiteSkite’s powerful features under your own brand identity, giving your clients a seamless and professional experience.