The Notes feature in SiteSkite helps you keep important information directly tied to each of your linked websites. Notes are private to your SiteSkite account, making it easy for you and your team to track updates, client requests, or troubleshooting history without cluttering the WordPress site itself.
Step 1: Open WP CANVAS
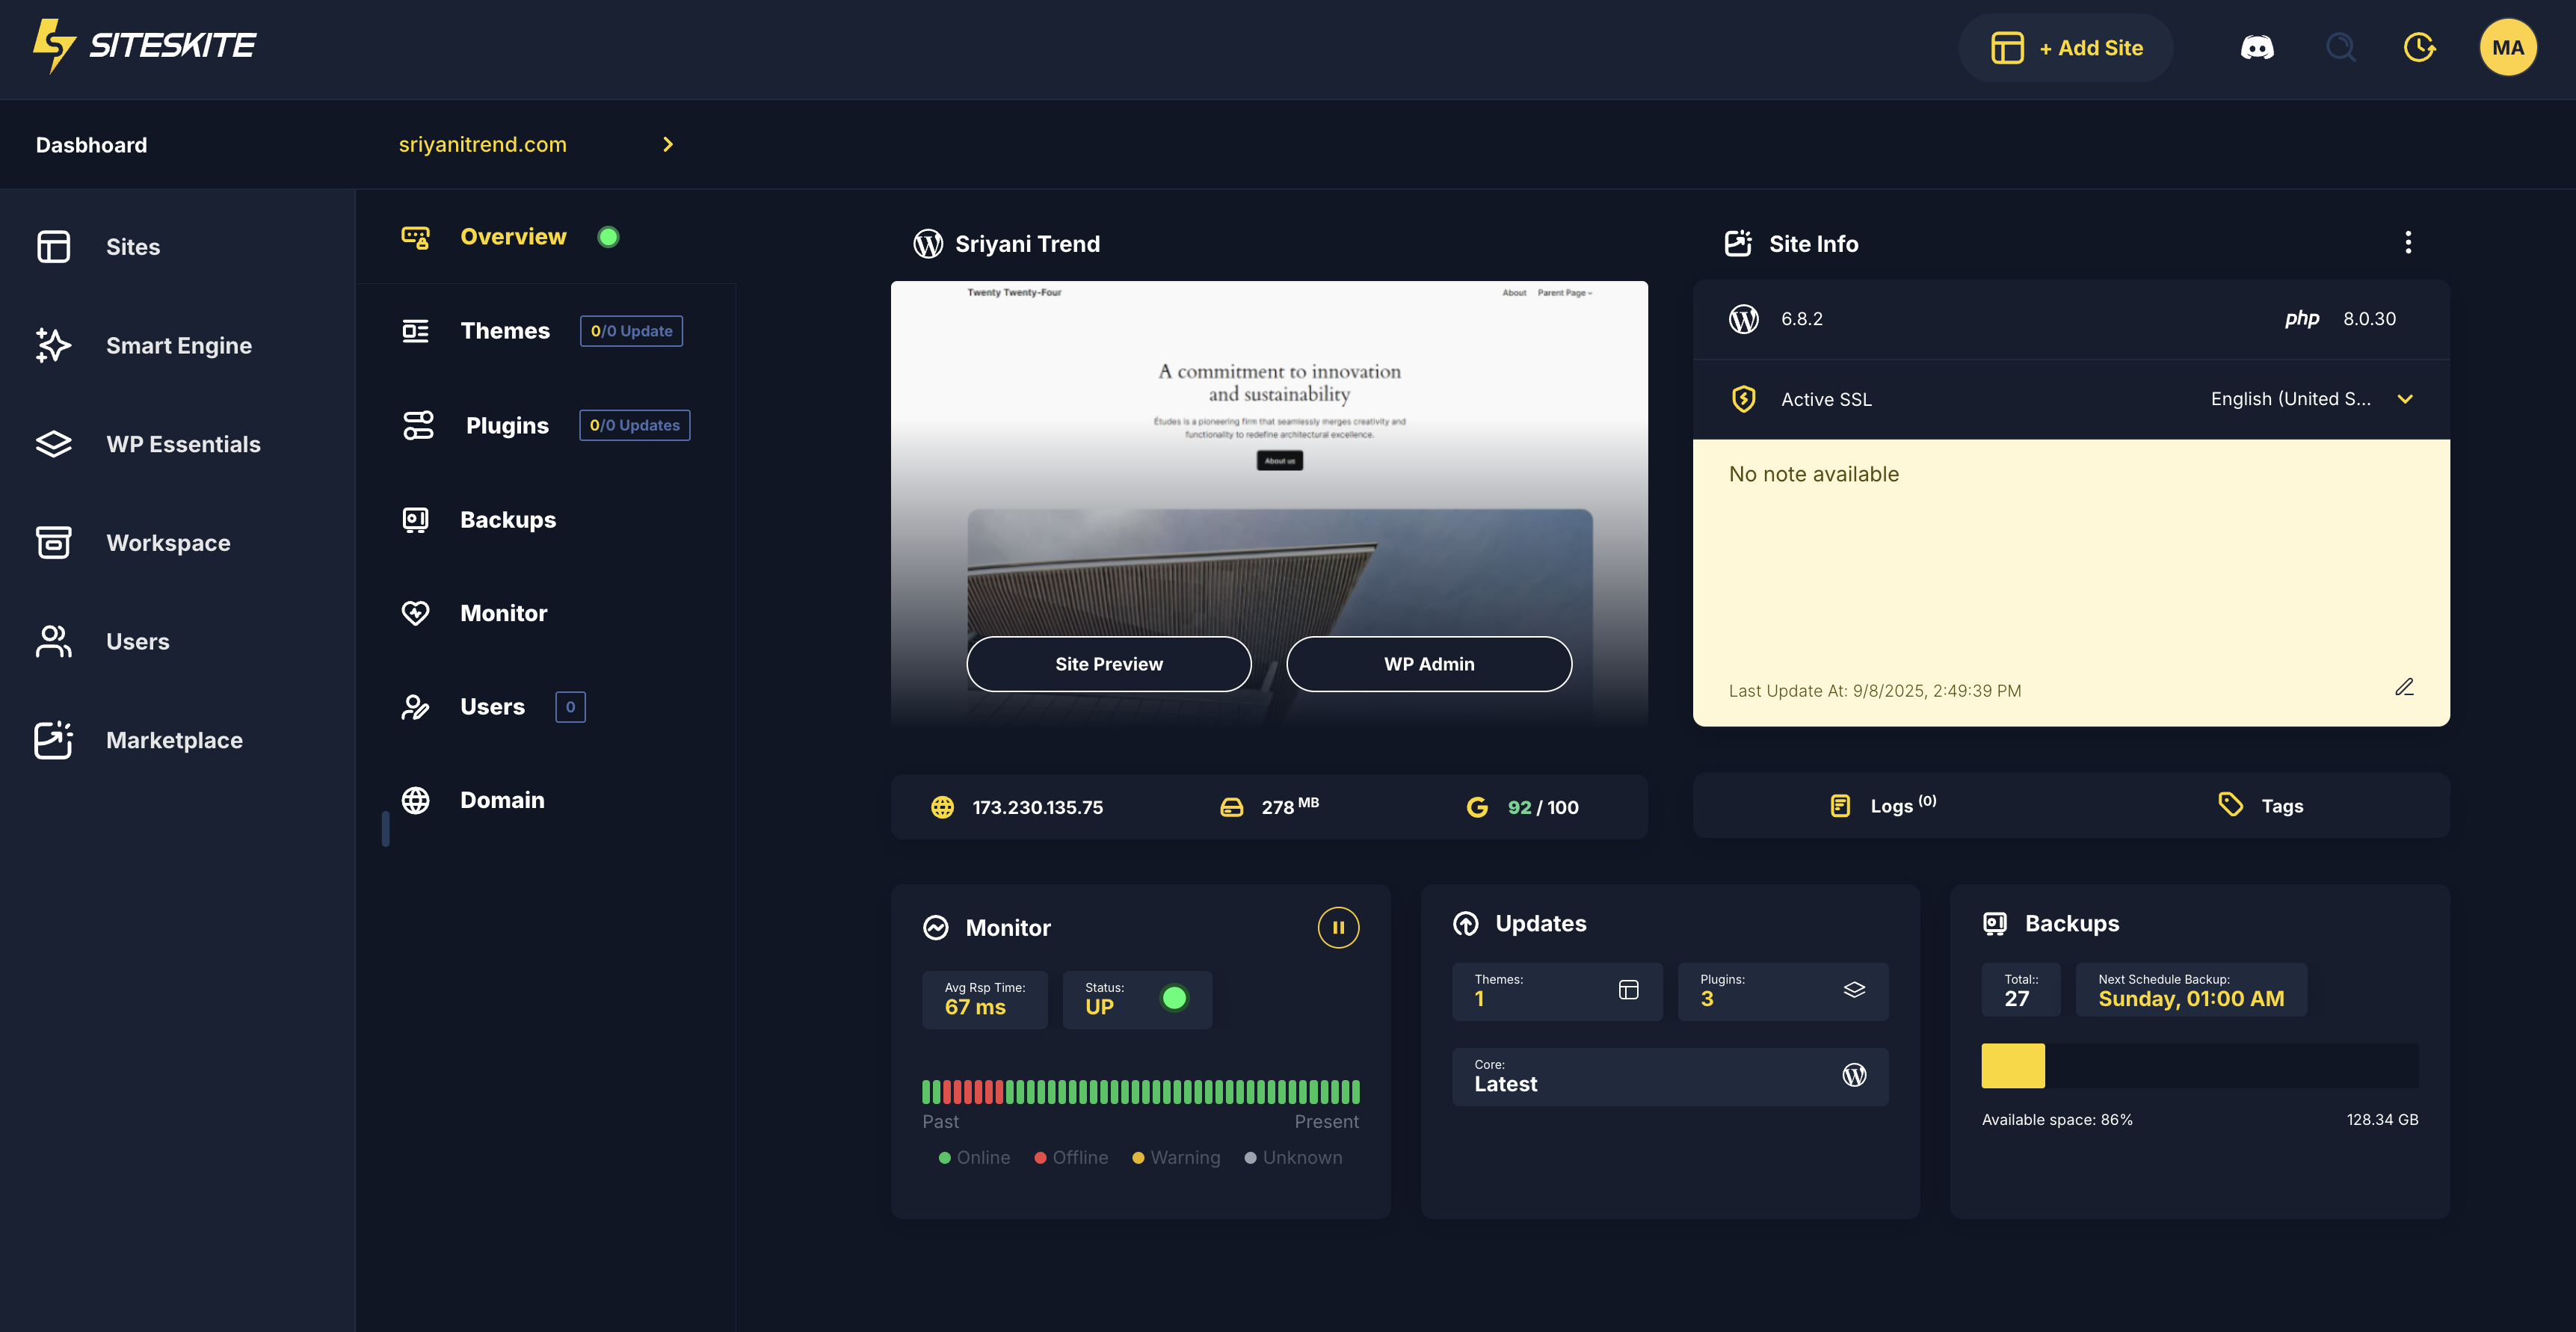
Log in to your SiteSkite Portal.
Go to the Sites section.
-
Select the site you want to manage.
Step 2: Add a Note
Click on Yellow Note box.
Type your note (e.g., “Updated WooCommerce to latest version” or “Client requested SEO plugin install”).
-
Click on Tick button to save.
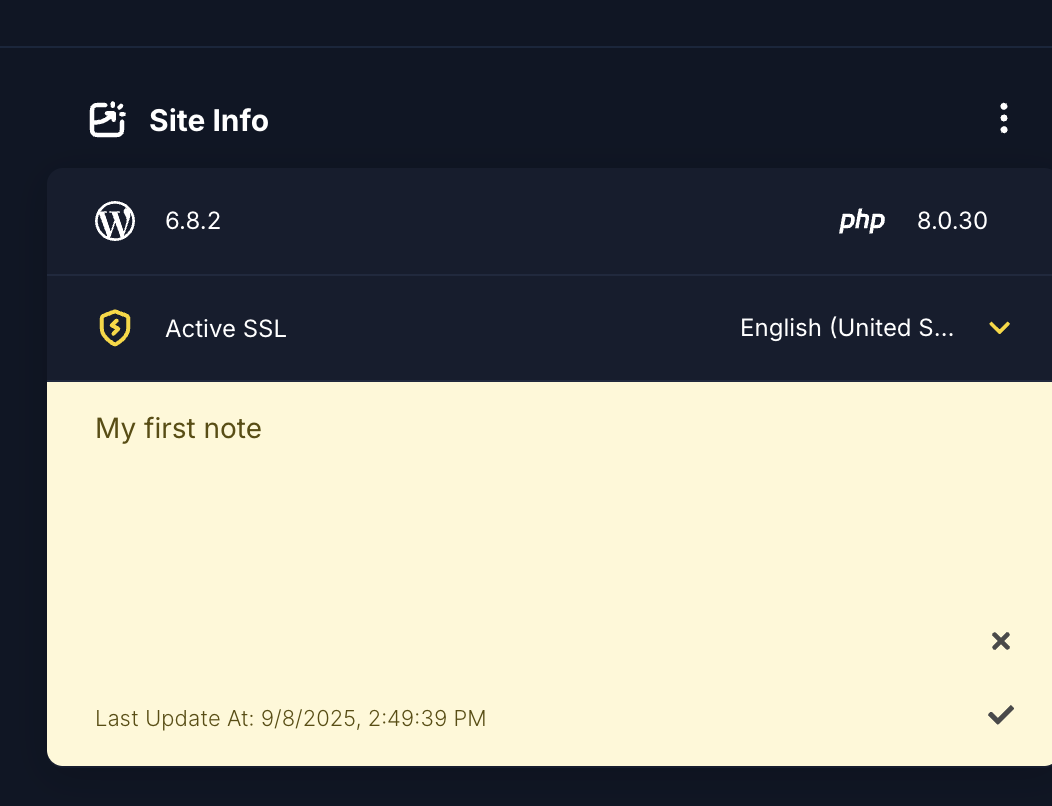
Add Note
Step 3: Manage Notes
View Notes → All notes for the selected site will appear in the Notes section.
Edit Notes → Click on a note to update its content.
Delete Notes → Remove a note if it’s no longer needed.
Best Practices
Use notes to log maintenance history (updates, fixes, migrations).
Add client communication reminders (e.g., “Client wants redesign after September”).
Keep notes short and clear for easy reference.
Since notes are private, you don’t have to worry about clients seeing them.
With Notes, you’ll always have a quick reference history for each site, improving collaboration and reducing miscommunication.