Tags in SiteSkite help you organize, filter, and manage multiple websites more efficiently. By tagging your linked sites, you can quickly group them by client, service type, or any custom tag you choose.
Step 1: Go to Your Websites List
Log in to your SiteSkite Portal.
Navigate to the Websites section.
-
Locate the site you want to tag.

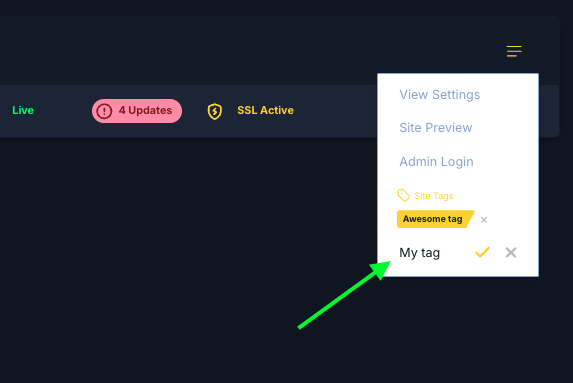
Step 2: Add a Tag
Click on the Add Tag field.
Enter a tag name (e.g., Client A, E-commerce, Priority).
-
Click on Tick icon to apply.
Step 3: Use Multiple Tags
You can assign more than one tag to a site.
Example: A site could have tags like Client A, E-commerce, and High Priority at the same time.
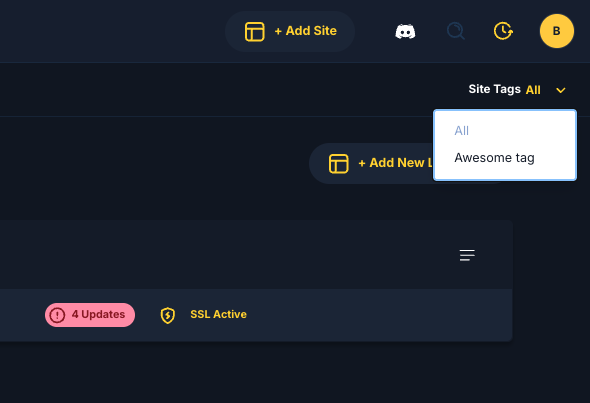
Filter by Tags
On your Sites dashboard, use the Tag Filter to view only sites with specific tags.
-
This makes it easy to find websites related to a client, a project, or a priority group.
Best Practices
Use consistent tag names across all sites (e.g., “E-commerce” instead of “ecom”).
Create tags for workflows like Backup Pending, Monitoring Only, or Needs Update.
Tags can be edited or removed anytime without affecting the site’s connection.
With tags, you can keep your linked sites neatly organized, making it easier to manage large numbers of websites inside SiteSkite.