Backblaze B2 is a reliable, low-cost cloud storage solution that integrates seamlessly with SiteSkite. By connecting your Backblaze account, you can store WordPress backups securely offsite, reducing server load and keeping your data safe.
Step 1: Create a Backblaze B2 Account
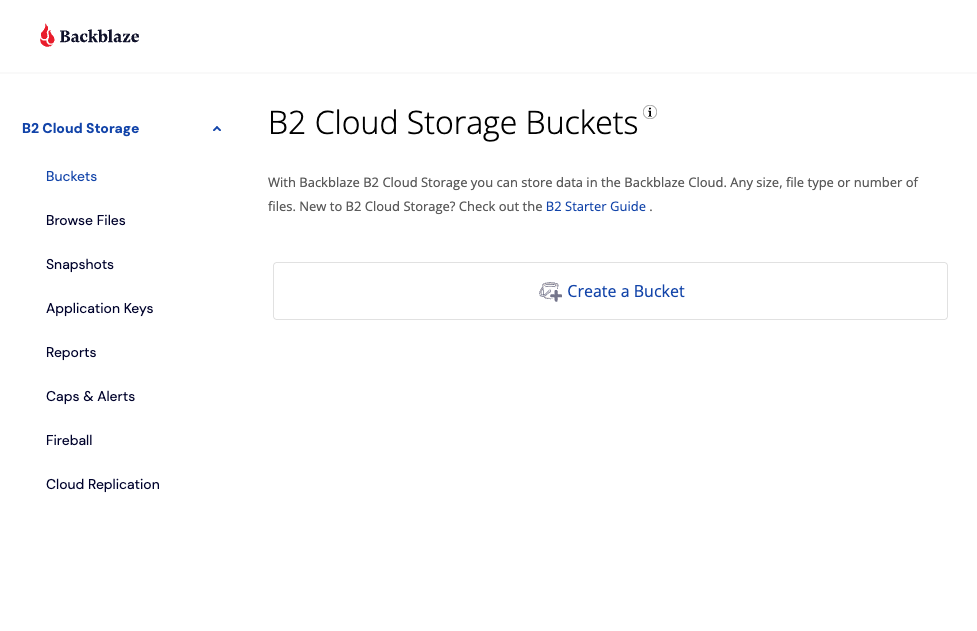
Go to Backblaze B2.
Sign up or log in to your account.
Verify your email and complete account setup.
Step 2: Create a Storage Bucket
-
Inside the Backblaze dashboard, go to Buckets.
-
Click Create a Bucket.
Give your bucket a name (e.g.,
siteskite-backups).Choose Private (recommended for backups).
Save your bucket.
Step 3: Generate Application Keys
Go to App Keys in your Backblaze dashboard.
-
Click Add a New Application Key.
Set a name (e.g.,
siteskite-key).Restrict access to your backup bucket for extra security.
-
Once created, you’ll get:
KeyID
ApplicationKey
⚠️ Copy and save these securely — you won’t see them again after leaving the page.
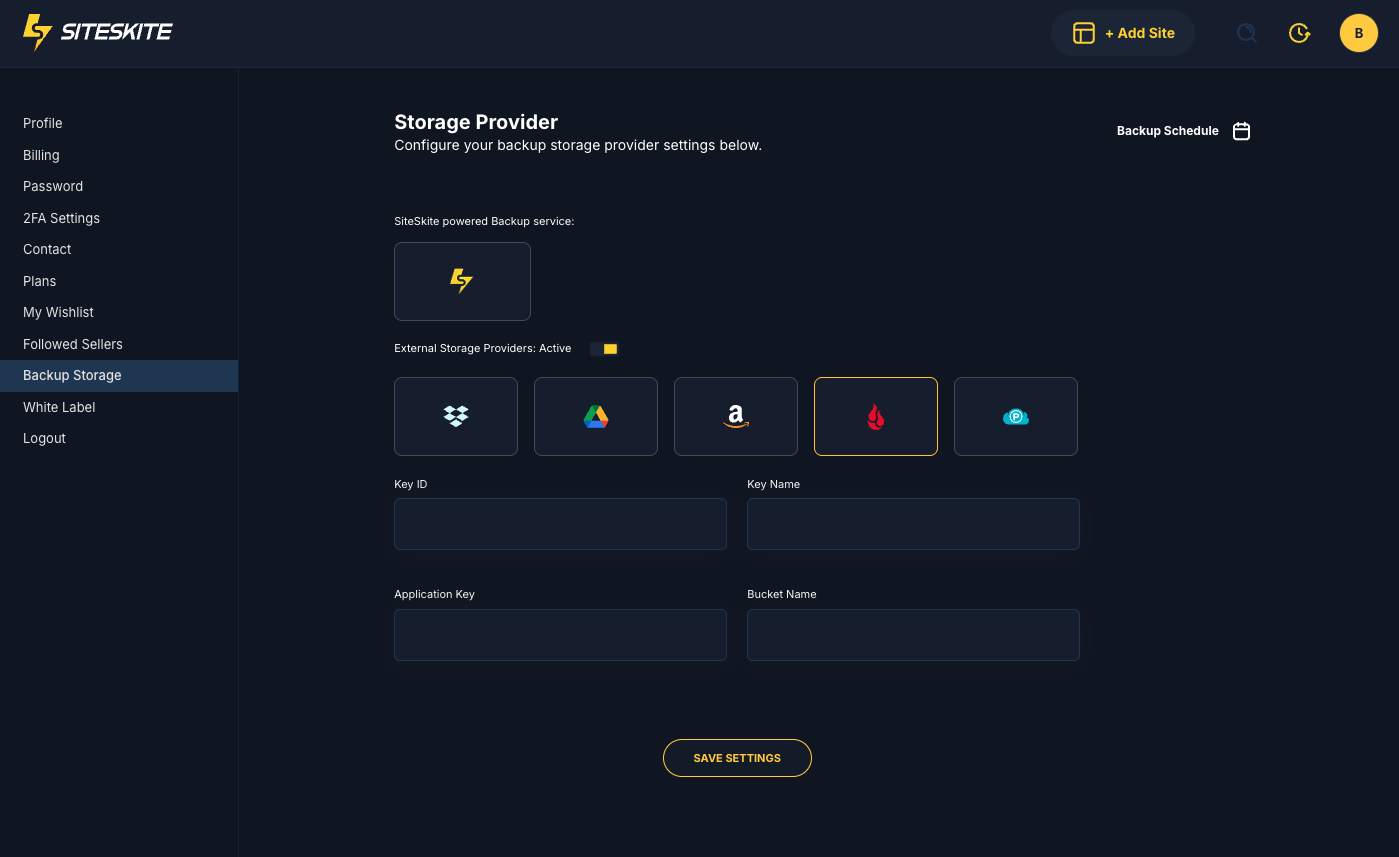
Step 4: Connect Backblaze in SiteSkite
Log in to your SiteSkite Portal.
Go to Settings → Storage Providers.
Select Backblaze B2.
-
Enter the following details:
Bucket Name
KeyID
ApplicationKey
Key Name
Click Connect.
✅ Once connected, SiteSkite will verify the credentials and mark Backblaze as Active.
Step 5: Assign Backblaze for Backups
Go to Websites → Select a Site → Backup Settings.
Under Storage Options, choose Backblaze B2.
Select your backup frequency (manual, daily, weekly, etc.).
Save your settings.
Step 6: Test a Backup
Run a manual backup.
After completion, check your Backblaze bucket — the backup file should appear inside.
Backblaze is cost-efficient for large storage (ideal if you’re managing multiple WordPress sites).
Always create a separate bucket for SiteSkite backups to keep things organized.
-
If you change your ApplicationKey, you’ll need to update the credentials in SiteSkite.
Enabling Backblaze B2 in SiteSkite gives you a secure, affordable, and scalable way to store WordPress backups — with simple one-time setup and automated execution.