SiteSkite allows you to store and restore WordPress backups directly on Amazon S3 (Simple Storage Service). By connecting your AWS account, backups can be securely uploaded and restored whenever needed.

1. Create an AWS Account (if not already)
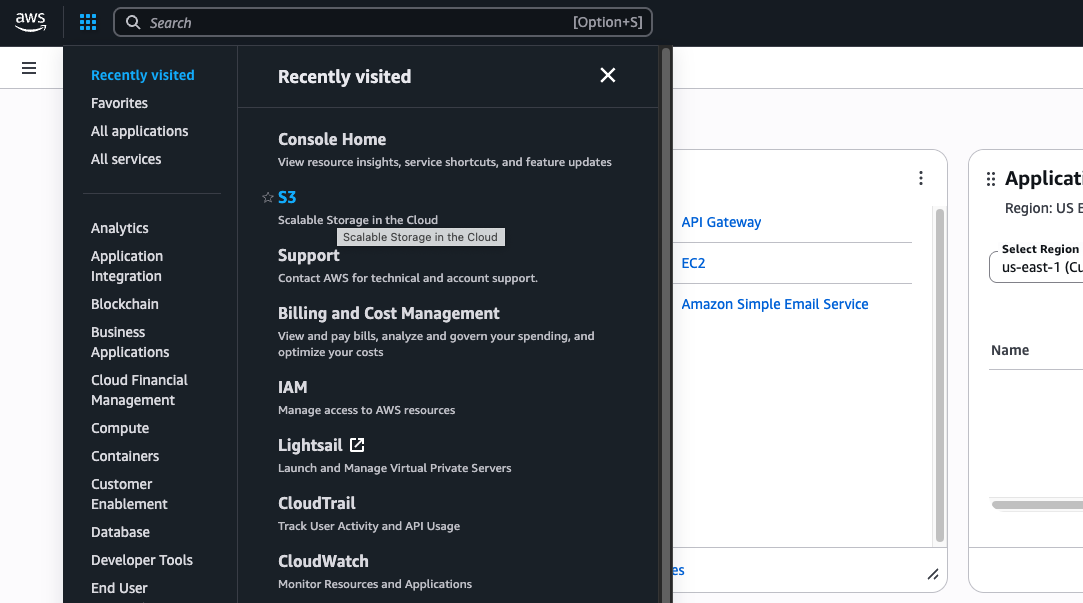
Go to AWS Console.
Sign up or log in with your AWS account.
2. Create or Select an S3 Bucket
-
Navigate to S3 in AWS Console.
-
Click Create bucket.

Enter a unique Bucket Name (e.g.,
siteskite-backups).Choose a region close to your hosting server for better performance.
Leave other settings default (or customize as needed) and click Create bucket.
3. Create IAM User for SiteSkite
Instead of using your root AWS credentials, create a dedicated IAM user for SiteSkite.
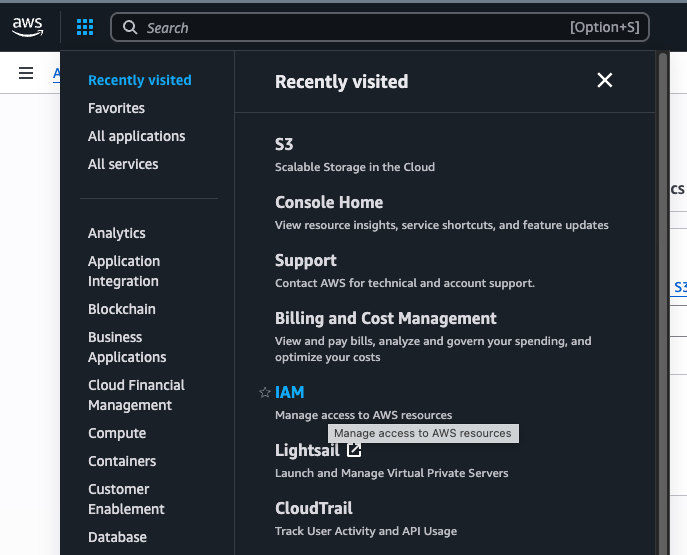
Go to IAM → Users → Create user.
Enter a username (e.g.,
siteskite-s3-backup).Choose Programmatic access.
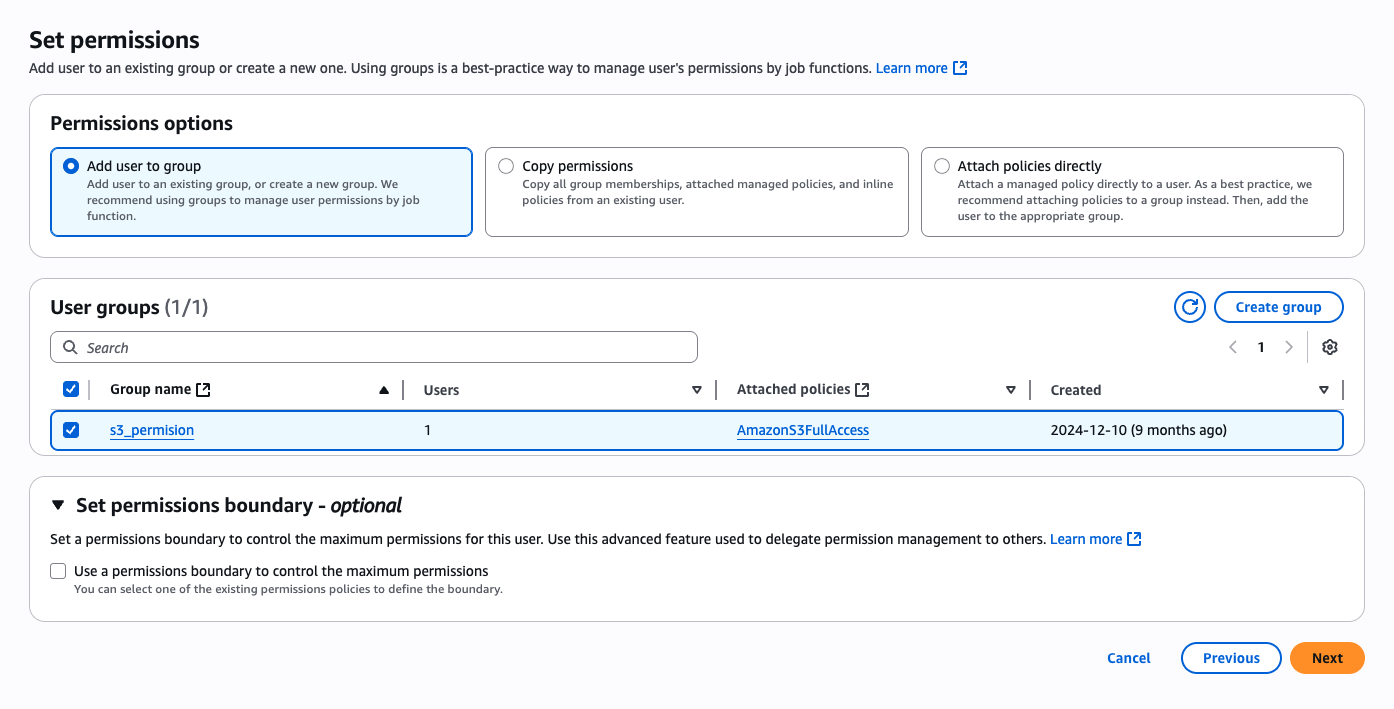
Click Next: Permissions.
-
Attach permissions → Select AmazonS3FullAccess (or create a more restricted policy allowing only that specific bucket).
-
Go to IAM → Users → Your New User

-
Under Security Credentials → Create Access Key
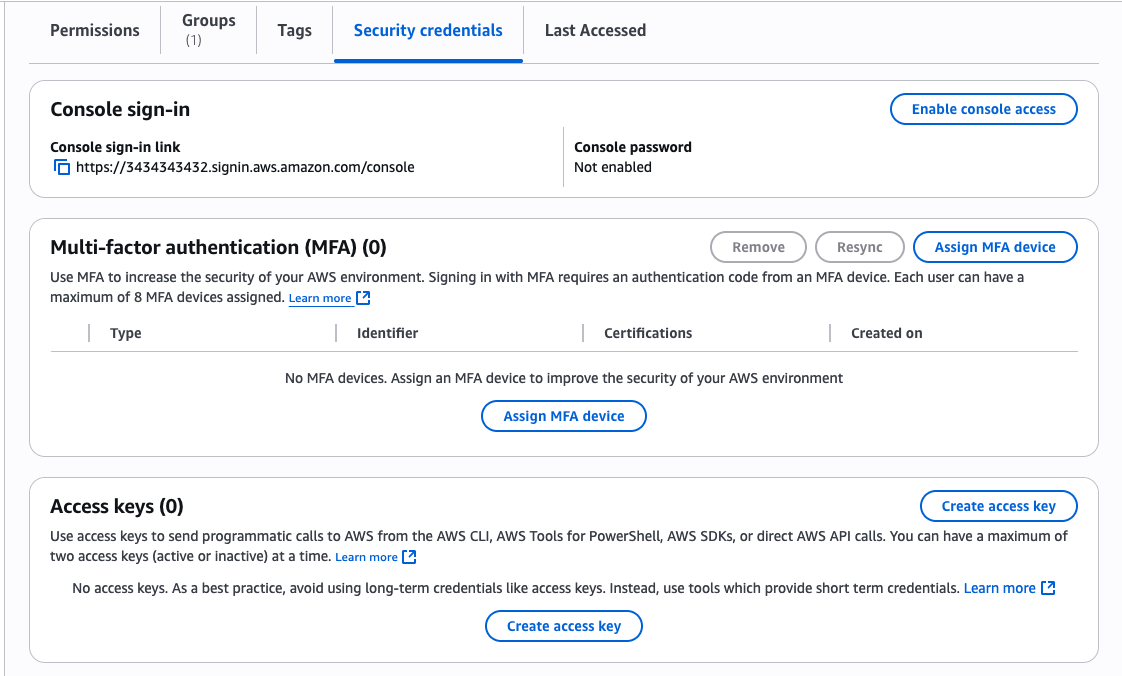
-
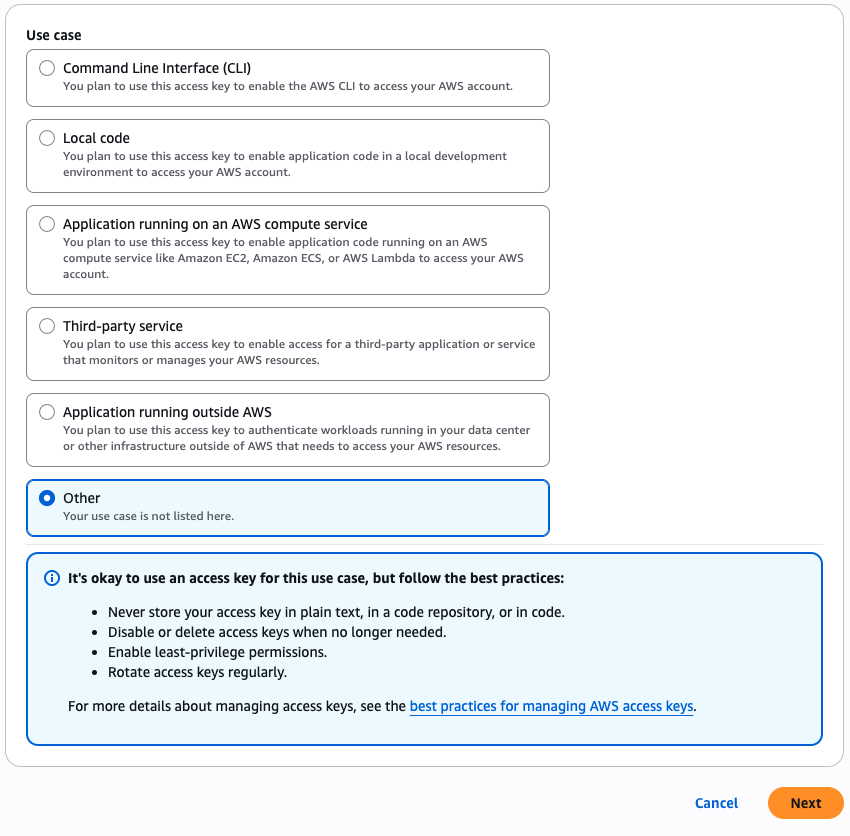
Select Other option
-
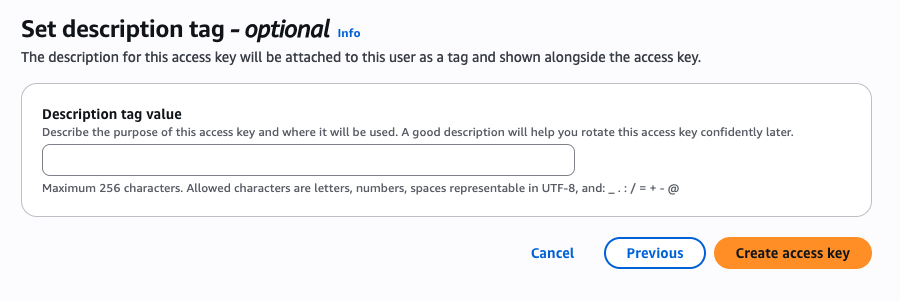
Skip Next optional screen and Navigate to Create Access Key Button & Download/Copy credentials.
4. Configure Bucket Permissions (Optional but Recommended)
If you want SiteSkite to only access one bucket:
Create a custom IAM policy restricting access to that bucket only. Example:
{
  "Version": "2012-10-17",
  "Statement": [
    {
      "Effect": "Allow",
      "Action": [
        "s3:PutObject",
        "s3:GetObject",
        "s3:DeleteObject",
        "s3:ListBucket"
      ],
      "Resource": [
        "arn:aws:s3:::siteskite-backups",
        "arn:aws:s3:::siteskite-backups/*"
      ]
    }
  ]
}
Attach this policy to your IAM user.
5. Enter Credentials in SiteSkite
Open SiteSkite Portal → Settings → Storage Providers → Amazon S3.
-
Fill in the details:
Access Key ID (from IAM user)
Secret Access Key (from IAM user)
Bucket Name (your S3 bucket)
Region (same region as your bucket, e.g.,
us-east-1)
Click Save Settings.
6. Test the Connection
After saving, SiteSkite will verify your credentials.
If everything is correct, you’ll see a confirmation message.
Now backups will automatically upload to Amazon S3.
With Amazon S3 enabled, you can:
Securely upload backups to your S3 bucket.
Restore directly from S3 into your WordPress site.
Use SiteSkite’s incremental backups and bulk management with S3 storage.
Tips & Notes:
Always prefer IAM users with limited permissions instead of root credentials.
Store your Access Key & Secret Key securely.
If you rotate IAM credentials, update them in SiteSkite immediately.
You can enable versioning in your S3 bucket for additional backup safety.